Playwright in an Azure DevOps Pipeline


Creating a pipeline to run TypeScript Playwright tests in Azure DevOps.
When you introduce Playwright in a codebase, you can use the init command to scaffold a fresh setup.
The scaffolding includes the installation of Playwright, a pre-configured setup, a sample test, and an optional GitHub Actions workflow.
In this post, the generated GitHub workflow is migrated into an Azure DevOps pipeline.
The pipeline installs Node.js, installs the dependencies (browsers included), runs the tests, and publishes the test artifact.
Because Playwright uses the CI environment variable to determine some behavior, we manually set this variable to true (this is done automatic via GitHub actions). If you don't set this variable, then the test reporter will continue to stay open after the tests are finished.
.azure-pipeline/playwright.yml
Within GitHub, this pipeline is automatically run when new commits are pushed to the main branch of the repository.
With Azure DevOps, the pipeline needs to first be manually created before it can be triggered.
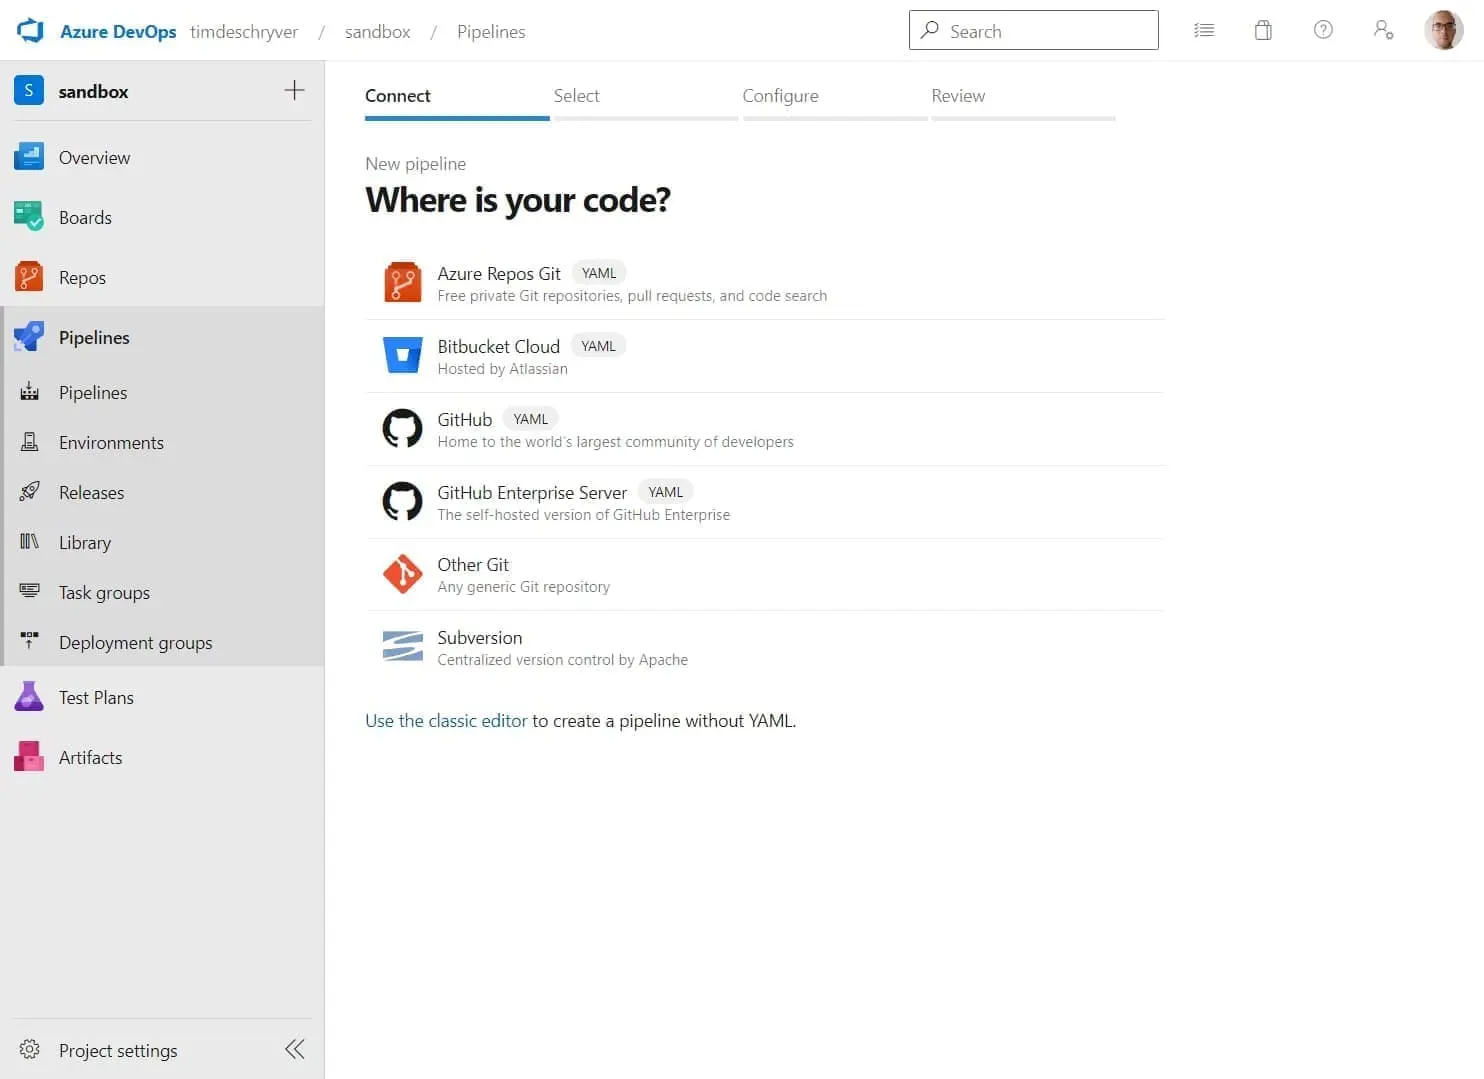
To do so, go to the pipeline pages and create a new pipeline. On this page select "Azure Repos Git", then select your repository.
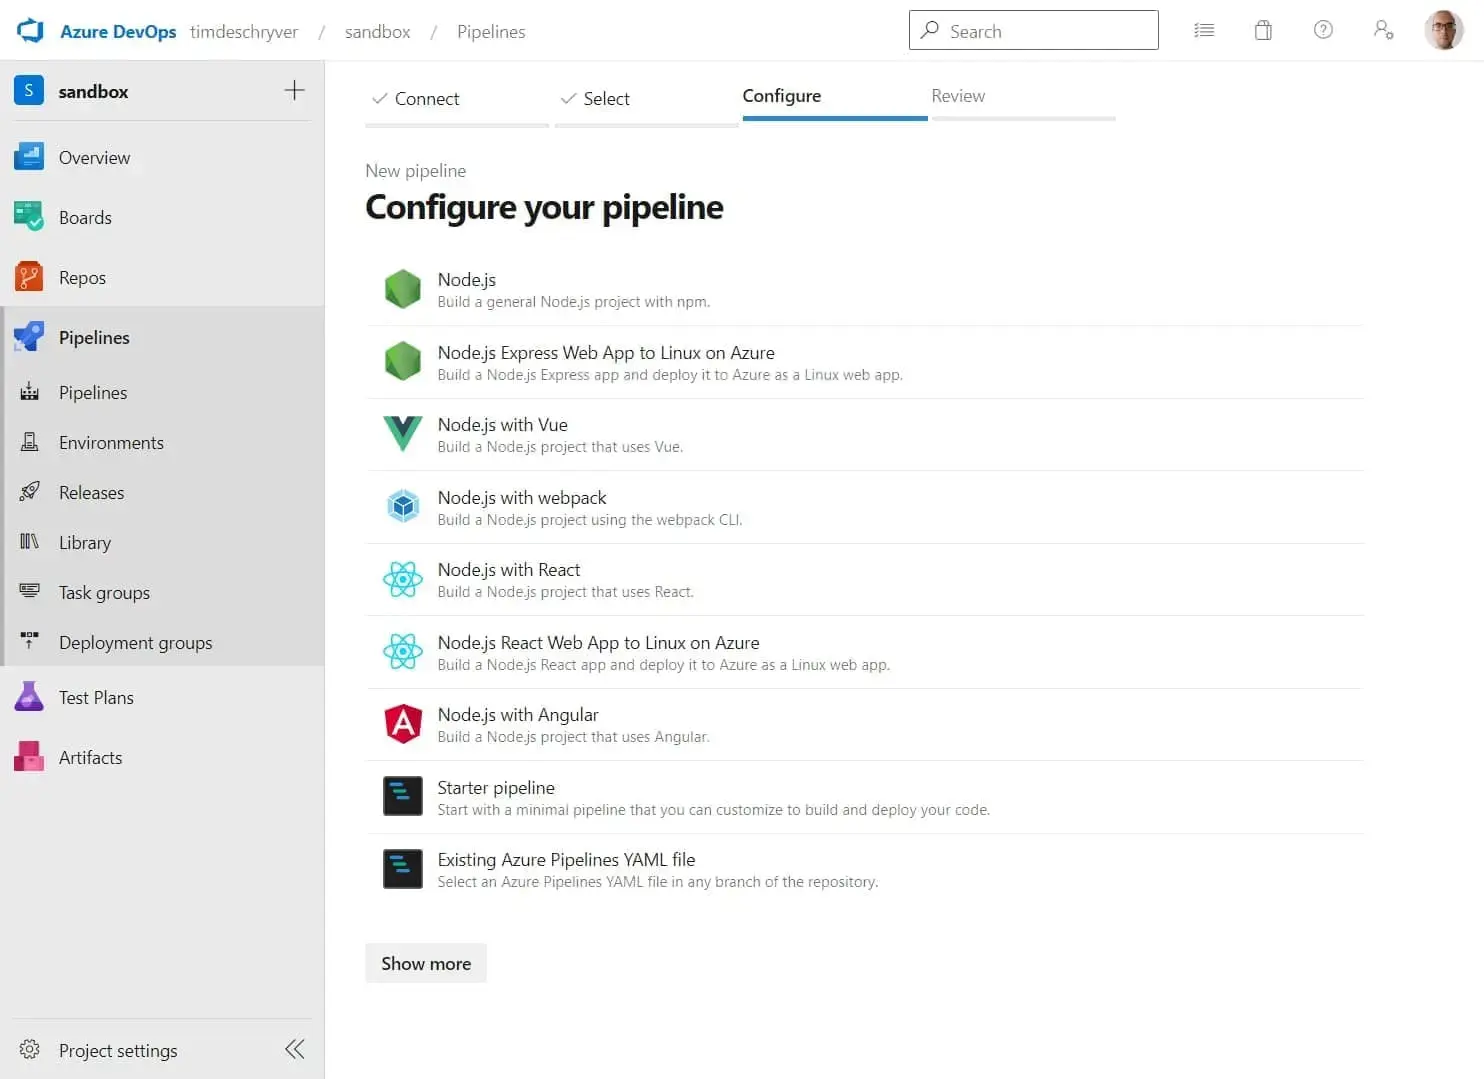
Next, select the "Existing Azure Pipelines YAML file" option and selected the above file if it's already pushed. Otherwise, select "Start pipeline" and copy-paste the above YAML into the editor.
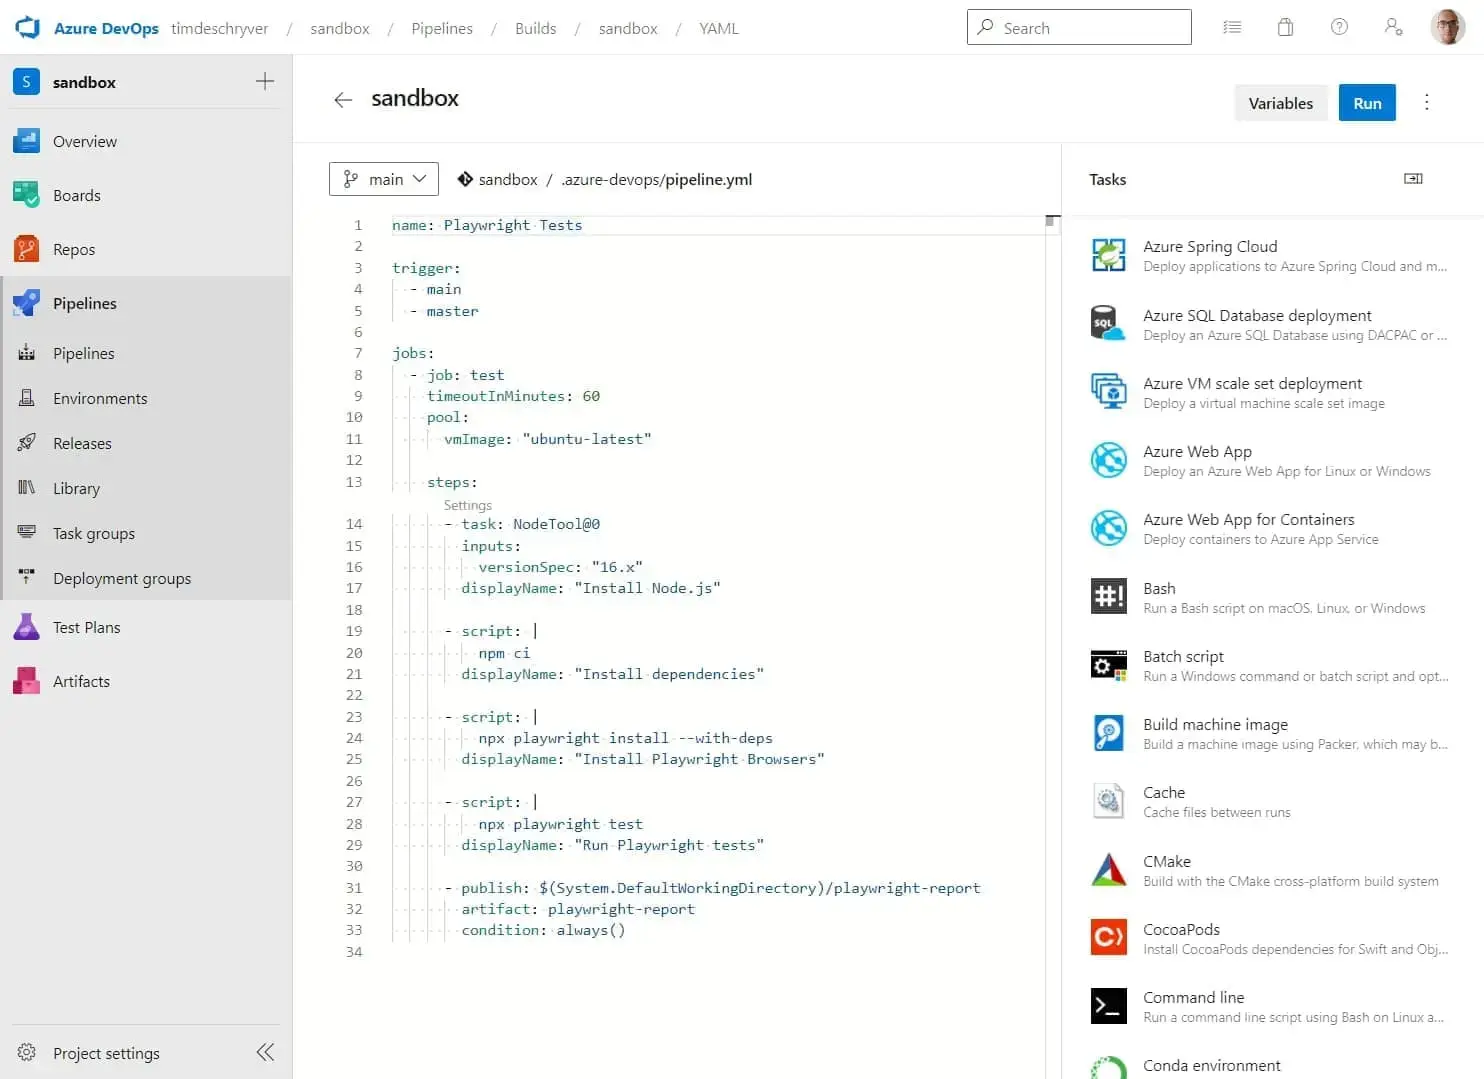
The resulting pipeline should look like this:
Now, you can click on "Run pipeline" to run the pipeline for the first time. When the pipeline is completed, it should give you the "success" page.
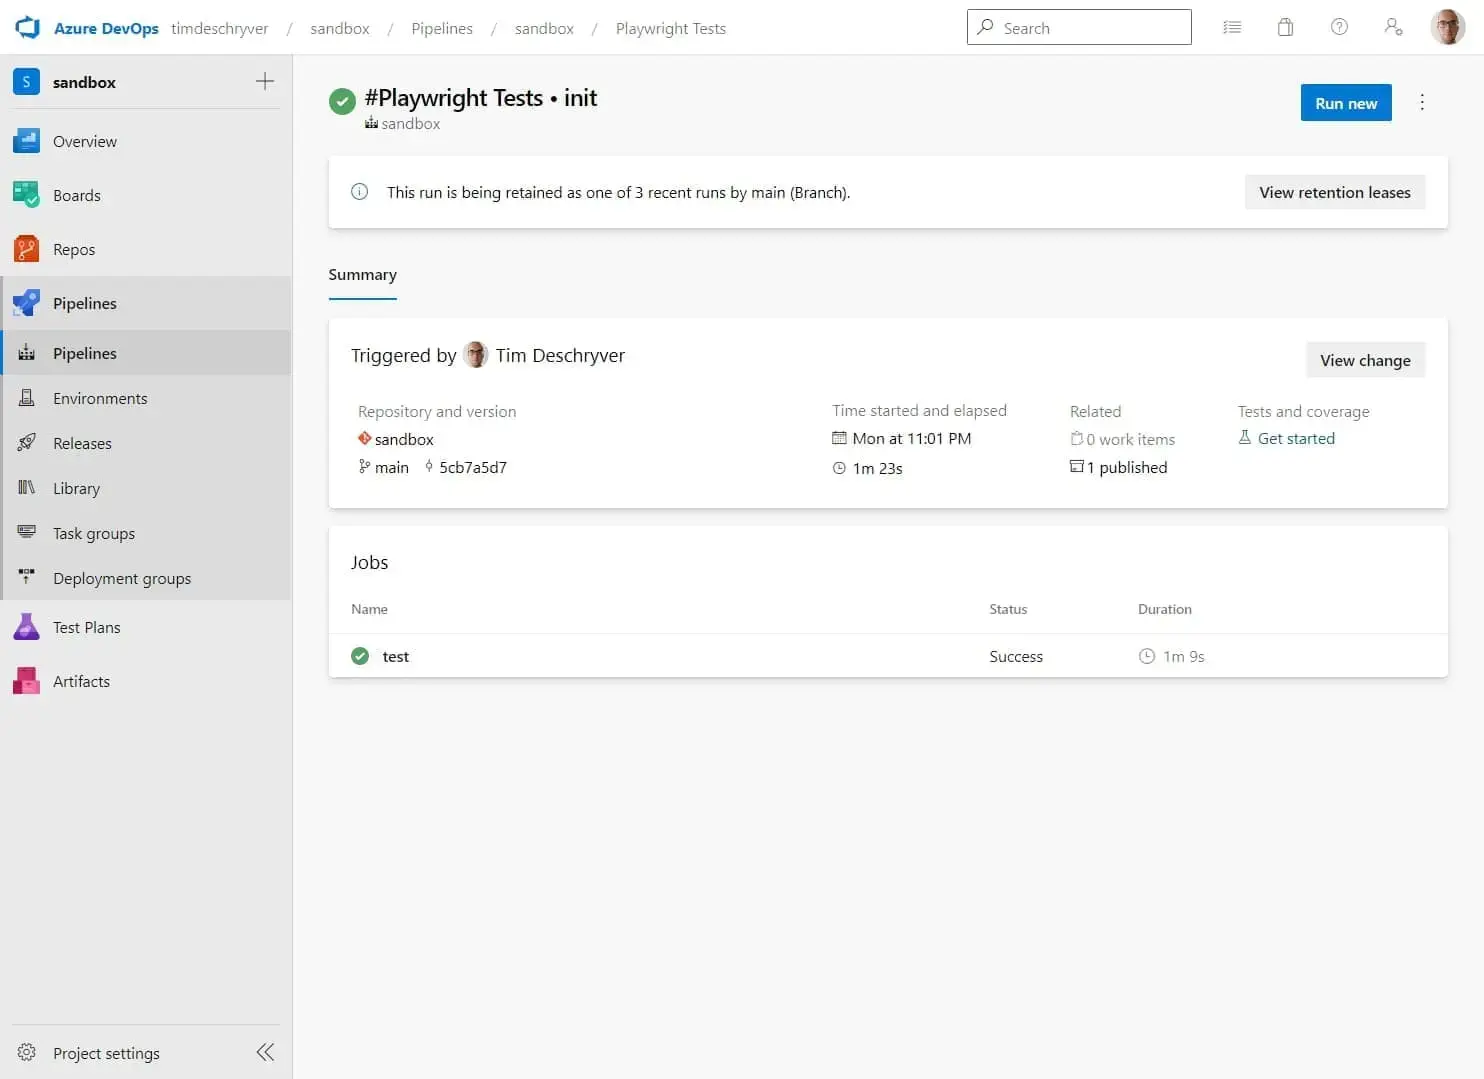
To view the test results, click on the "test" job.
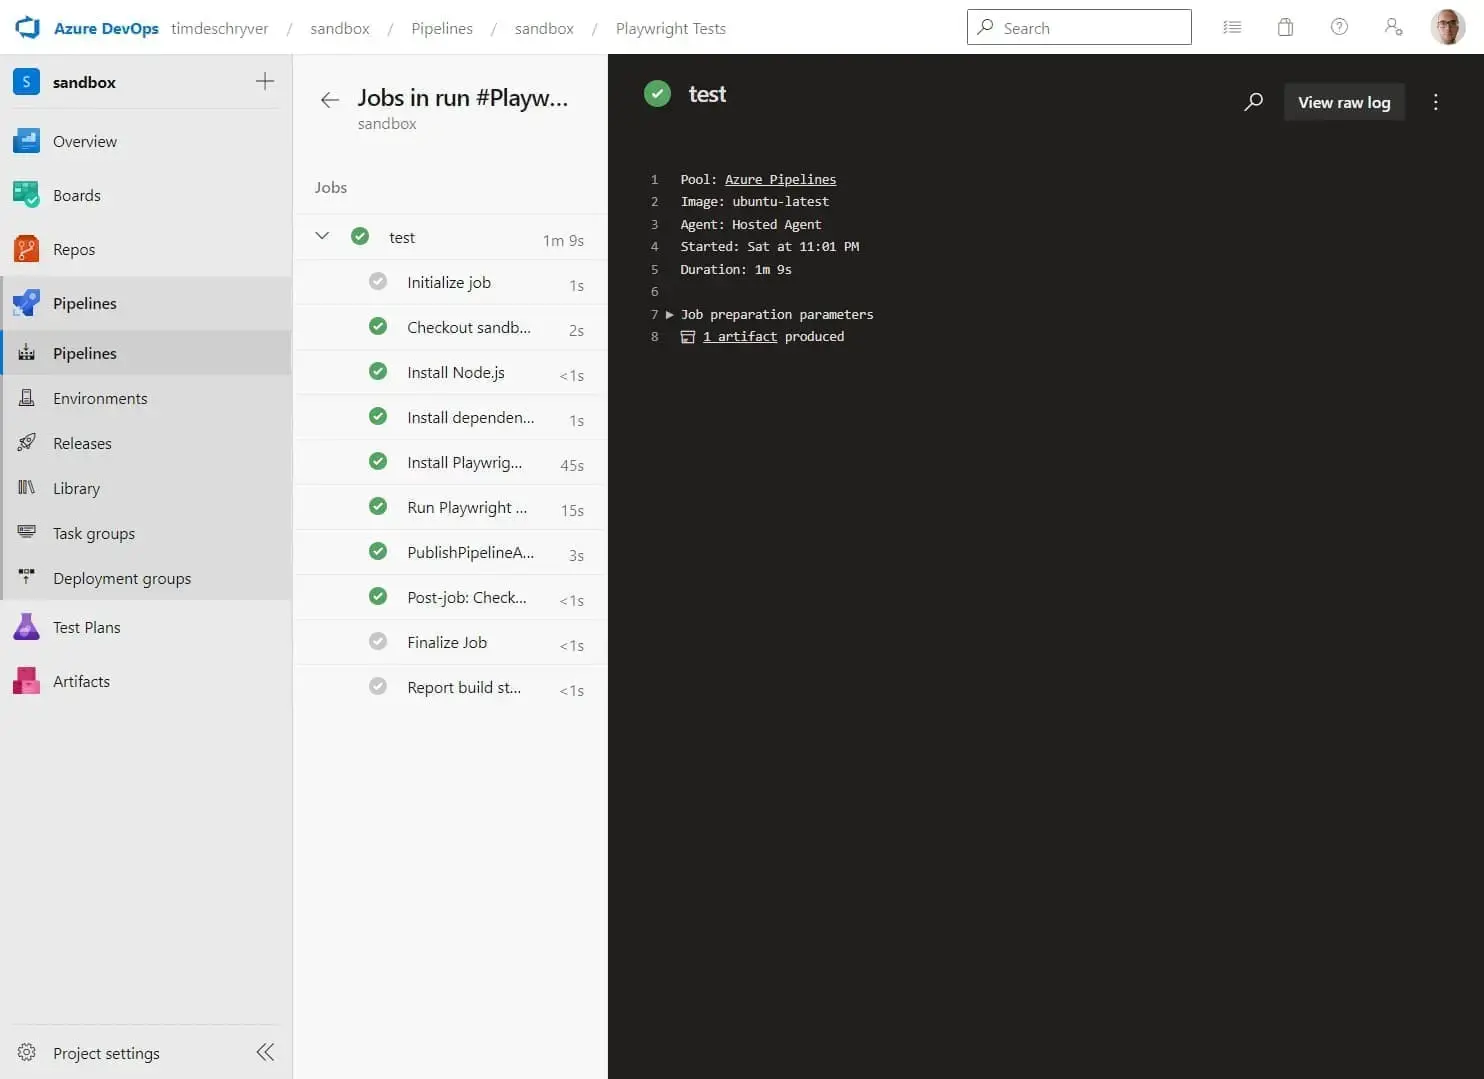
Lastly, you can download the test artifacts to see the test results.
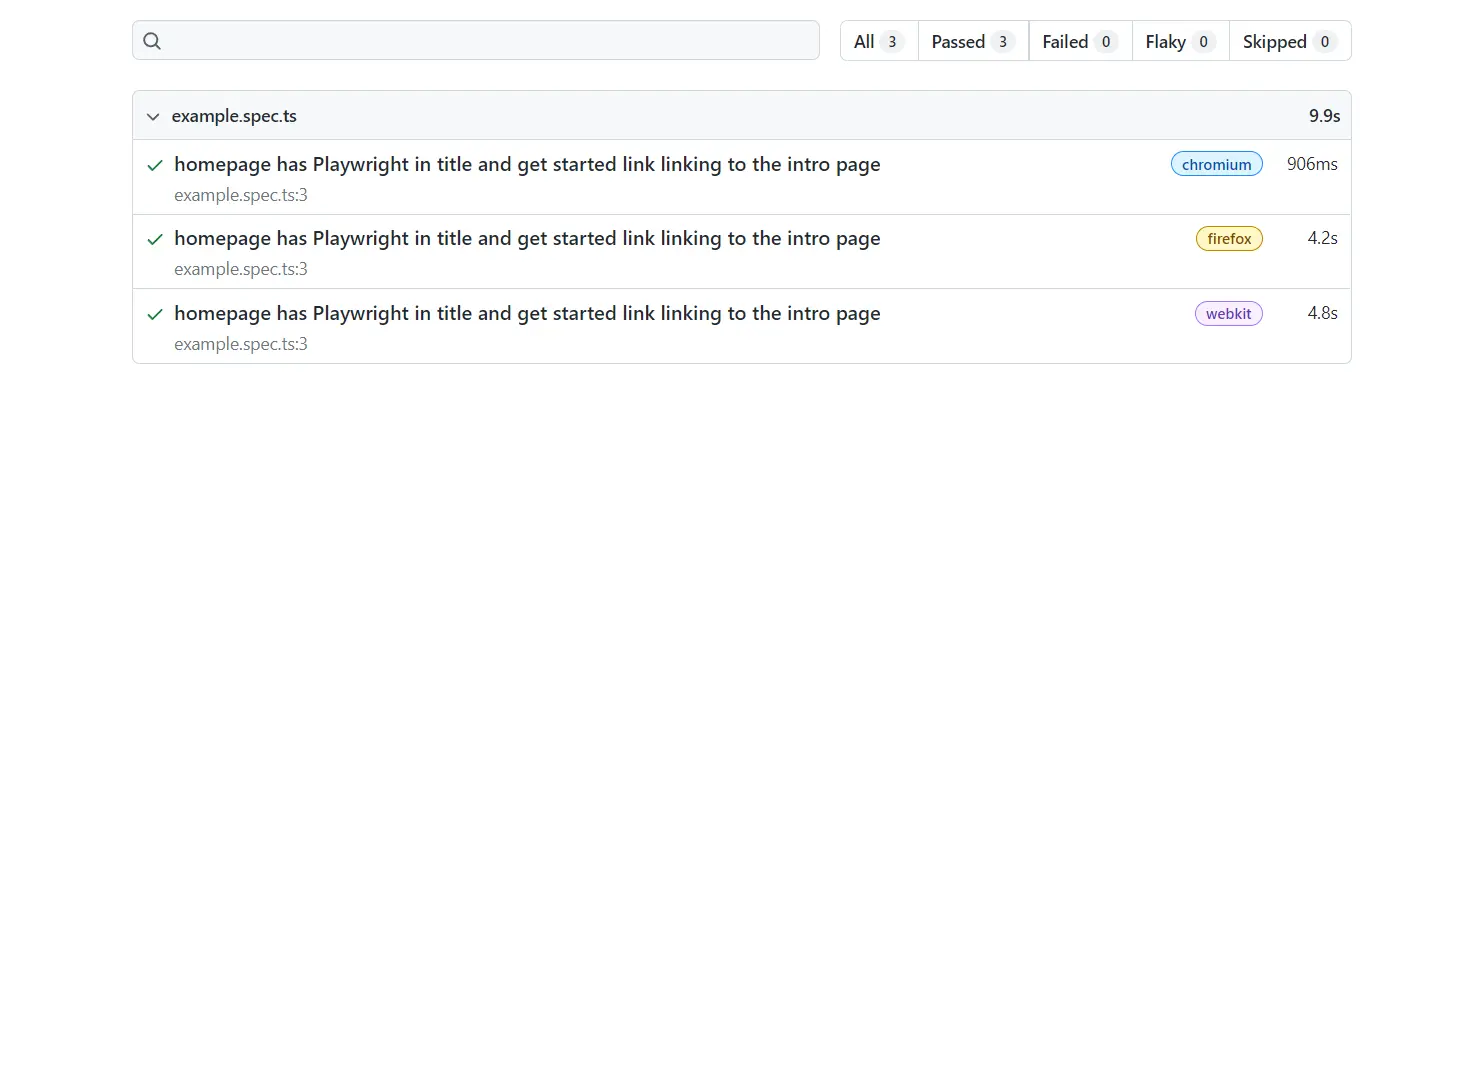
With the next push to the main branch, the pipeline will be automatically triggered.
Happy testing!
Related articles
Feel free to update this blog post on GitHub, thanks in advance!
Enjoying the blog?
Support my work
If you enjoyed this post and found it useful, consider supporting my work. It helps me keep creating and sharing content like this. Thank you!